
Categories: DIY Home Decor
What Is Duct Cleaning and Does Your West Michigan Home Actually Need It?
If you’ve ever wondered whether duct cleaning is worth the cost, you’re not alone. It’s one of the most common…
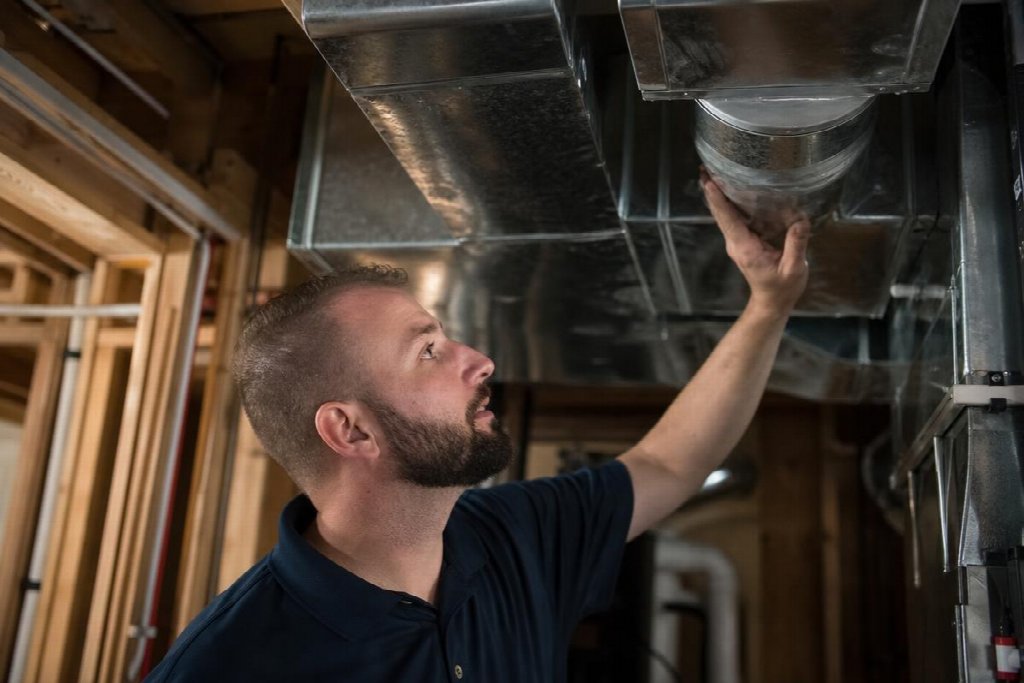
If you’ve ever wondered whether duct cleaning is worth the cost, you’re not alone. It’s…
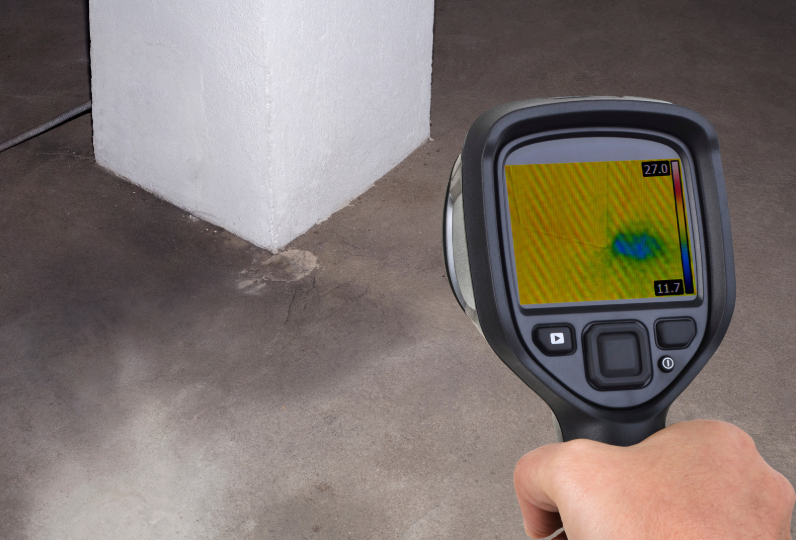
Your home’s plumbing runs beneath a concrete slab, and that changes everything about how leaks…
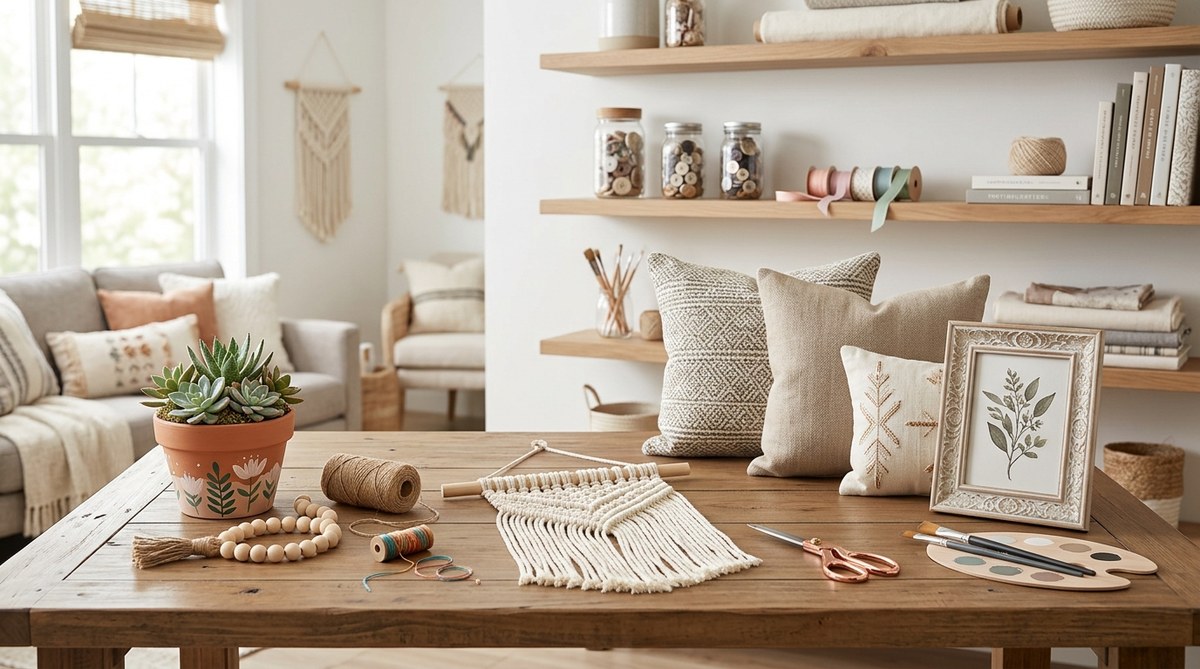
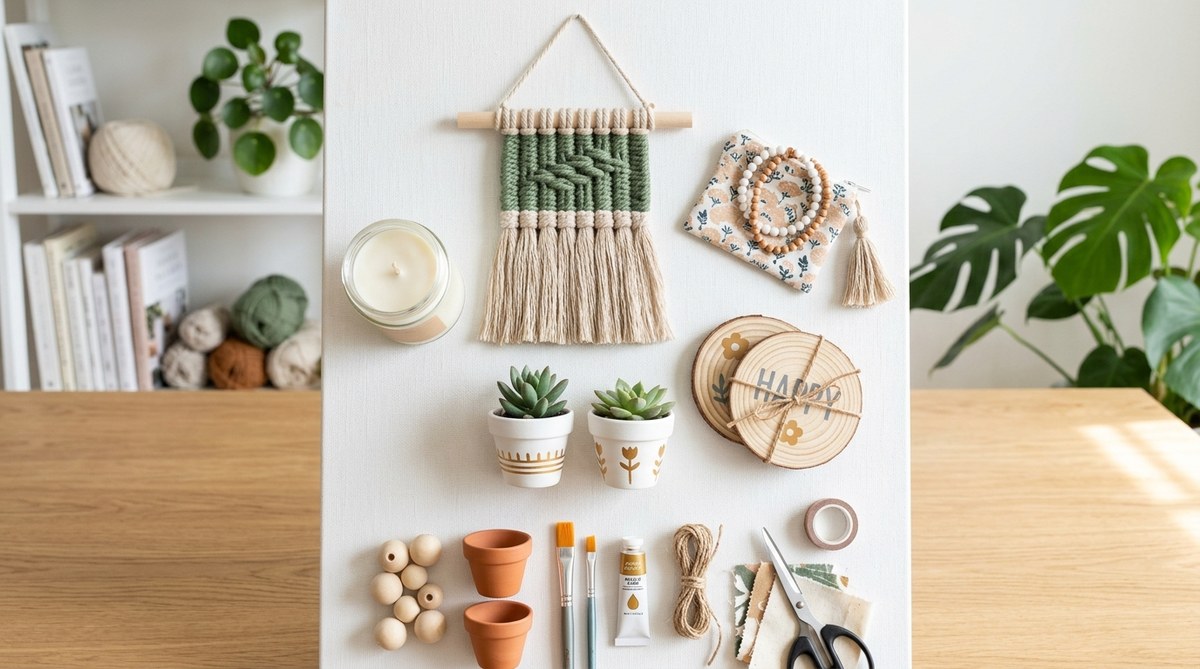
Home Decor Projects You Can Make Yourself | Naptime Crafters Step into a world where…
If you’ve ever wondered whether duct cleaning is worth the cost, you’re not alone. It’s one of the most common…
Your home’s plumbing runs beneath a concrete slab, and that changes everything about how leaks behave. In Phoenix, where slab-on-grade…
Home Decor Projects You Can Make Yourself | Naptime Crafters Step into a world where your home reflects your style…
Kid-Friendly Craft Ideas for Busy Parents If you are juggling car pool runs, meal prep, and a full schedule, crafting…
Easy DIY Crafts You Can Do in 30 Minutes | NaptimeCrafters If your to do list is piling up and…
Three small words can carry a lifetime of meaning. Children feel that deeply, even if they cannot always explain it.…
Origami has fascinated artists and hobbyists for centuries, transforming a single sheet of paper into intricate shapes. Among the many…
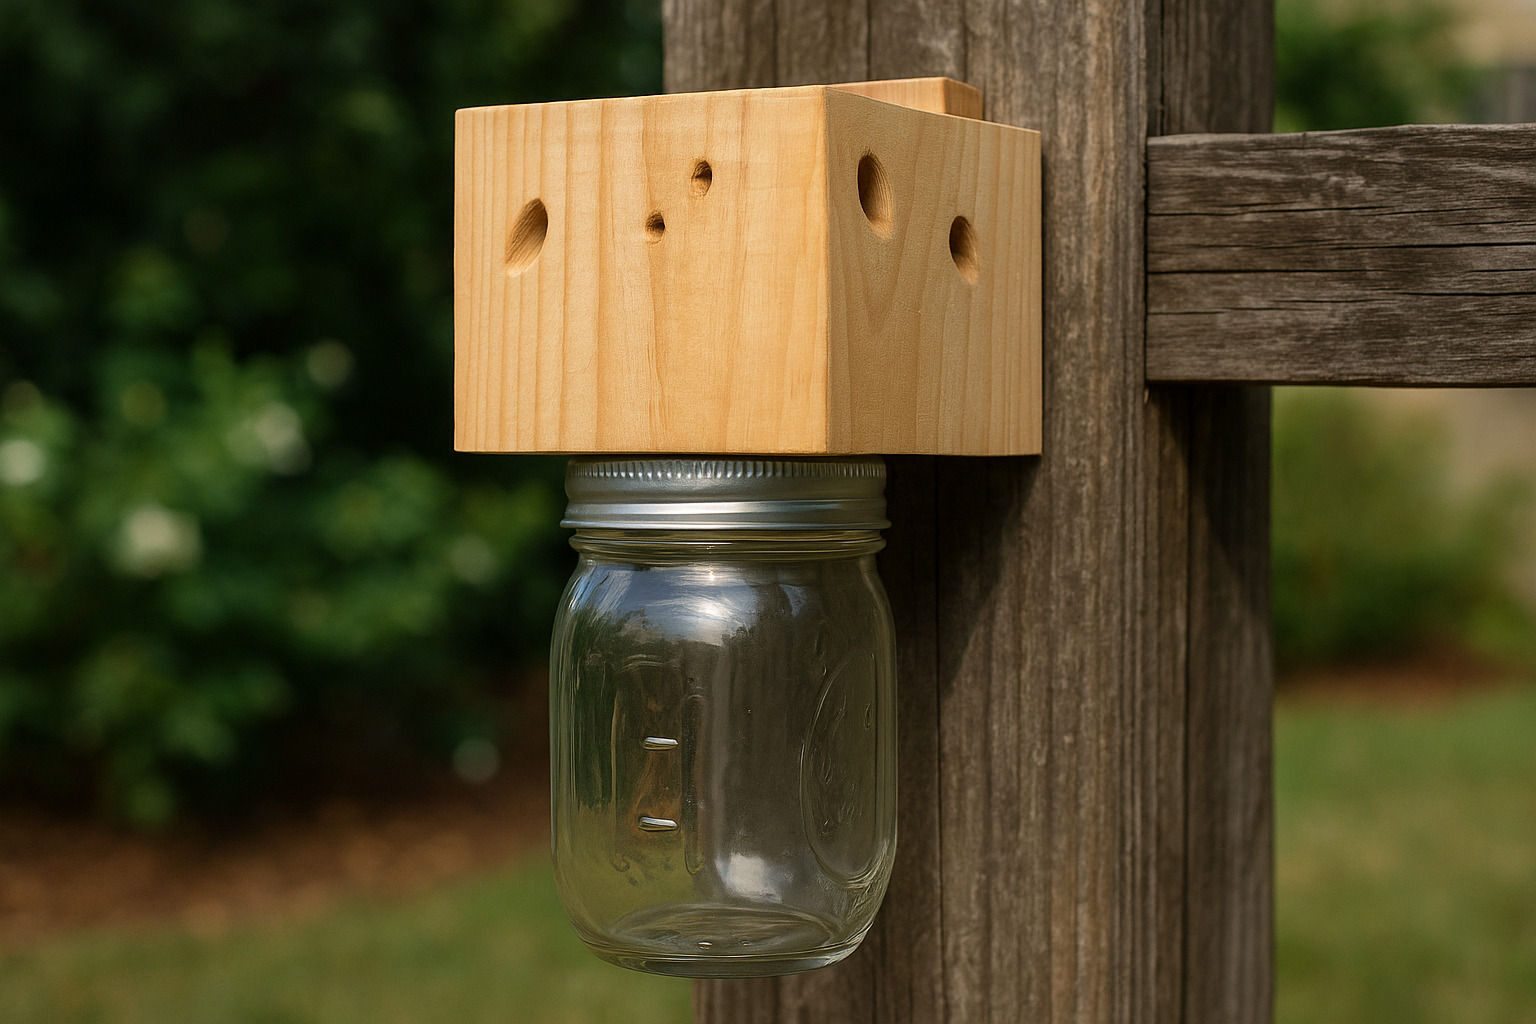
Carpenter bees can damage wooden structures by drilling holes to create their nests. A well-built trap can help control their…
Autumn brings a mix of colors, textures, and natural materials perfect for creative projects. Kids love working with what they…
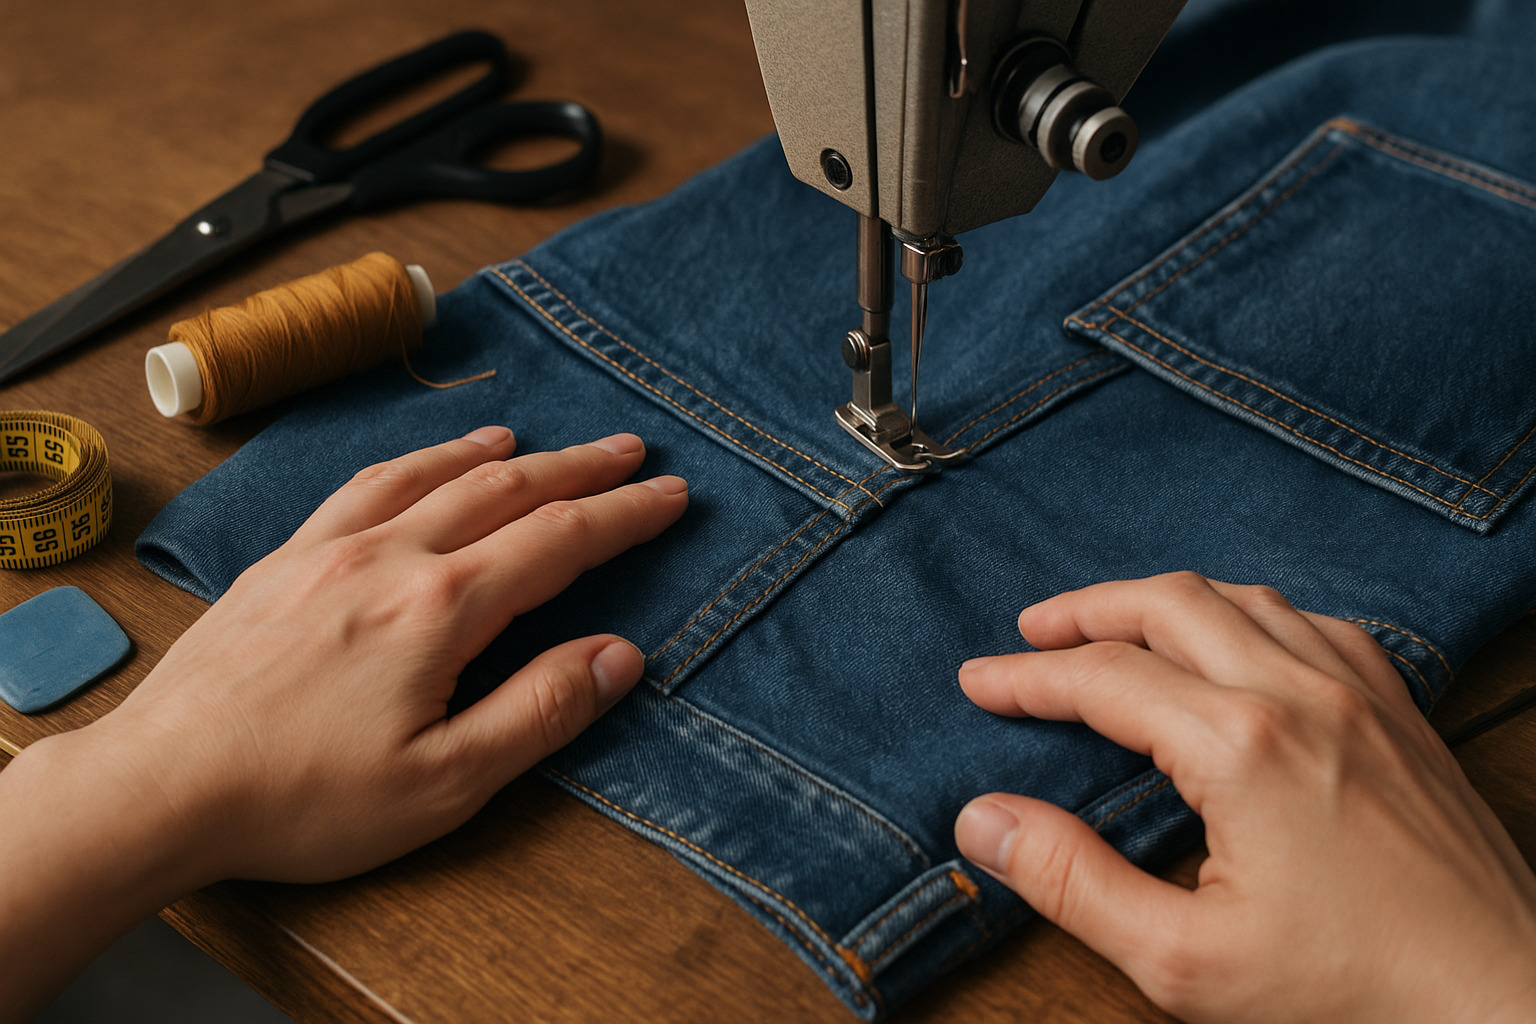
Sewing jeans requires sturdy techniques, durable materials, and careful attention to detail. A well-made pair not only fits perfectly but…