Categories: Crafting for Beginners, Crafting Tips & Tutorials
Easy I Love You Craft Ideas for Kids
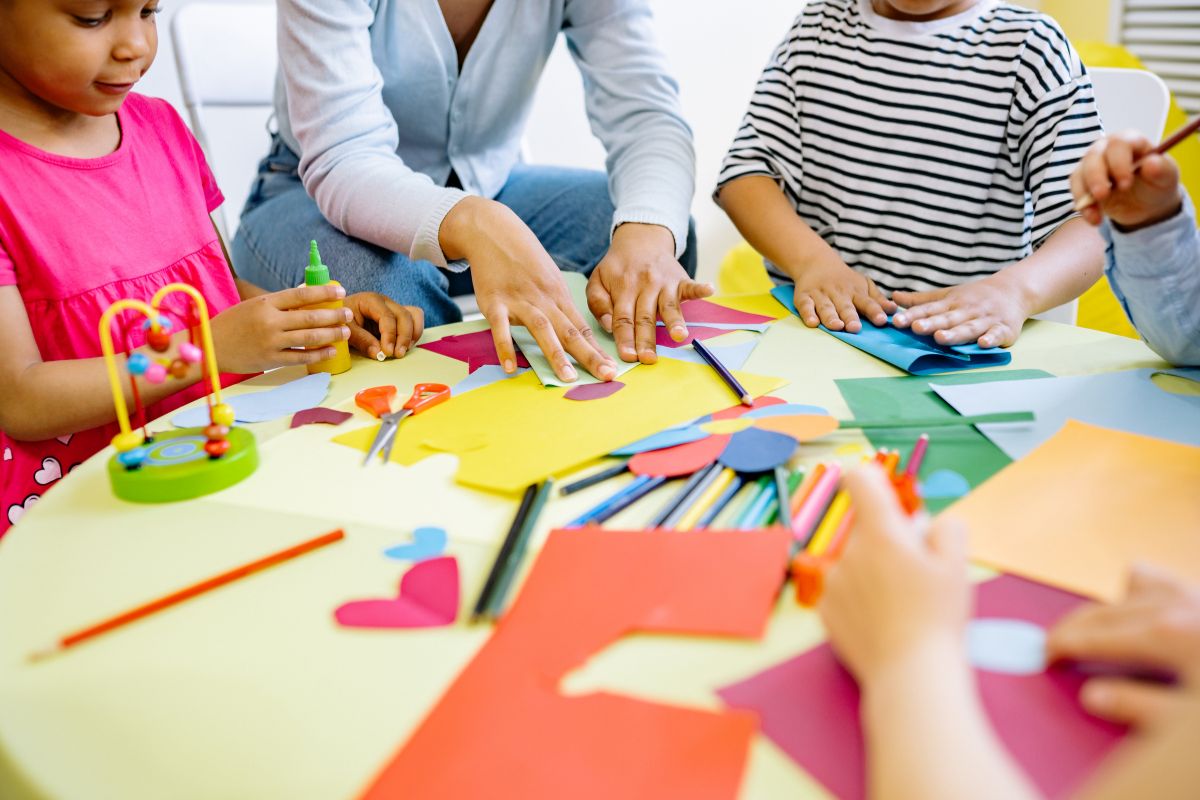
Three small words can carry a lifetime of meaning. Children feel that deeply, even if they cannot always explain it.…
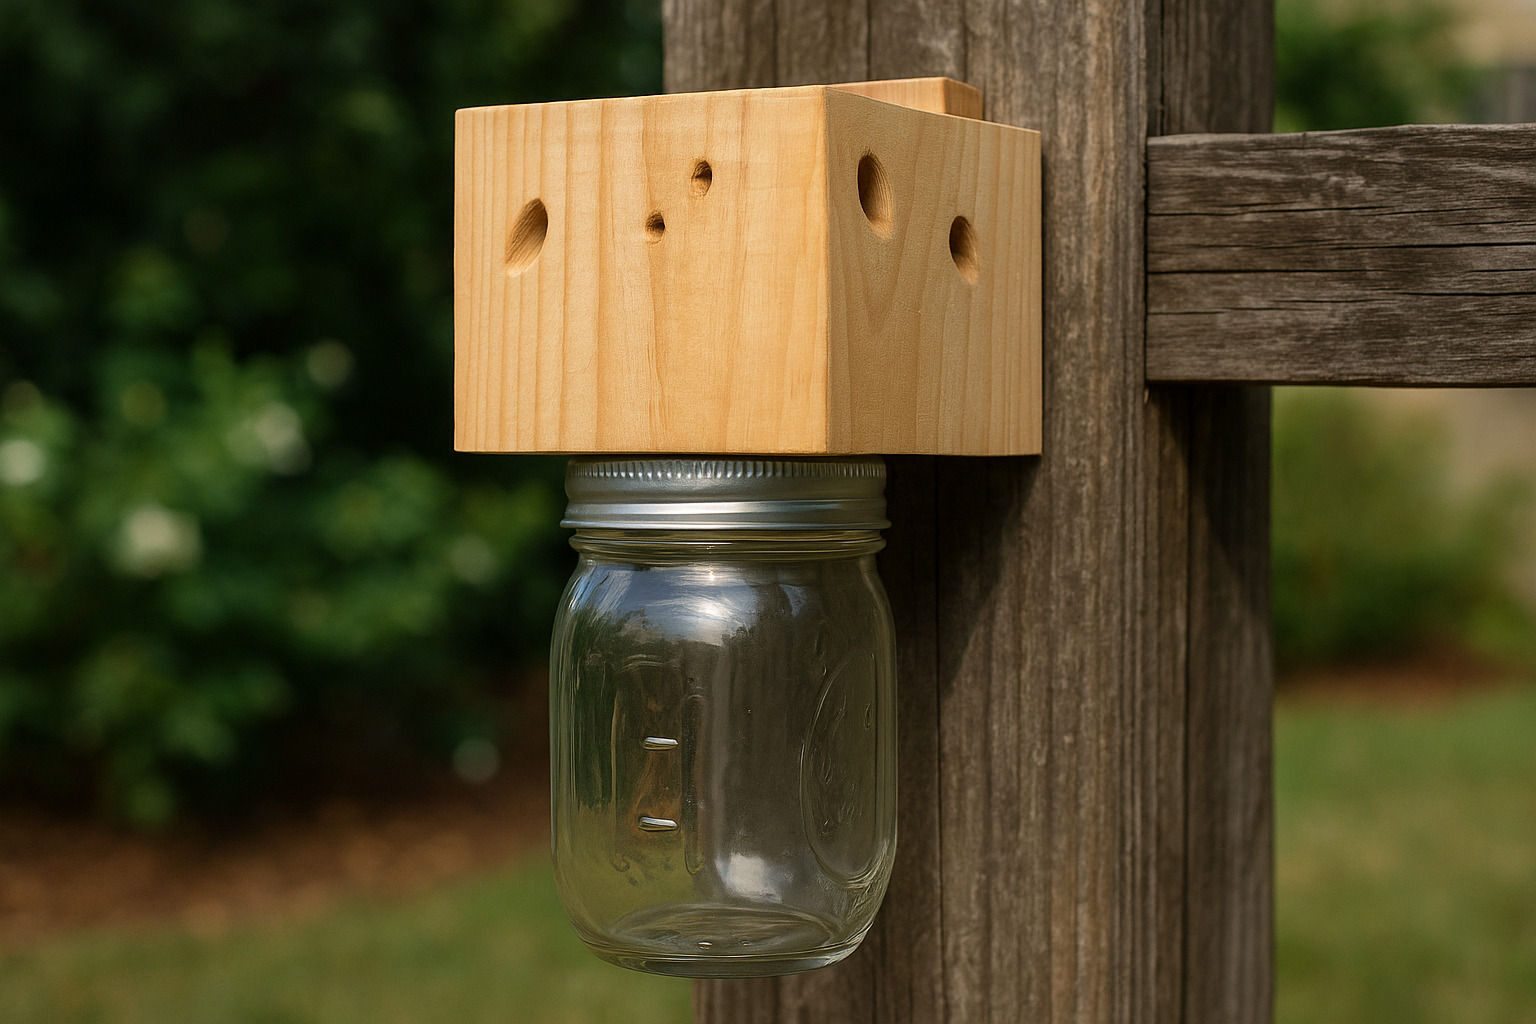
Carpenter bees can damage wooden structures by drilling holes to create their nests. A well-built…

A hammock stand offers a resting spot without needing trees or wall mounts. If your…

Mother’s Day is the perfect occasion to show appreciation with handmade gifts. These easy Mother’s…
Three small words can carry a lifetime of meaning. Children feel that deeply, even if they cannot always explain it.…
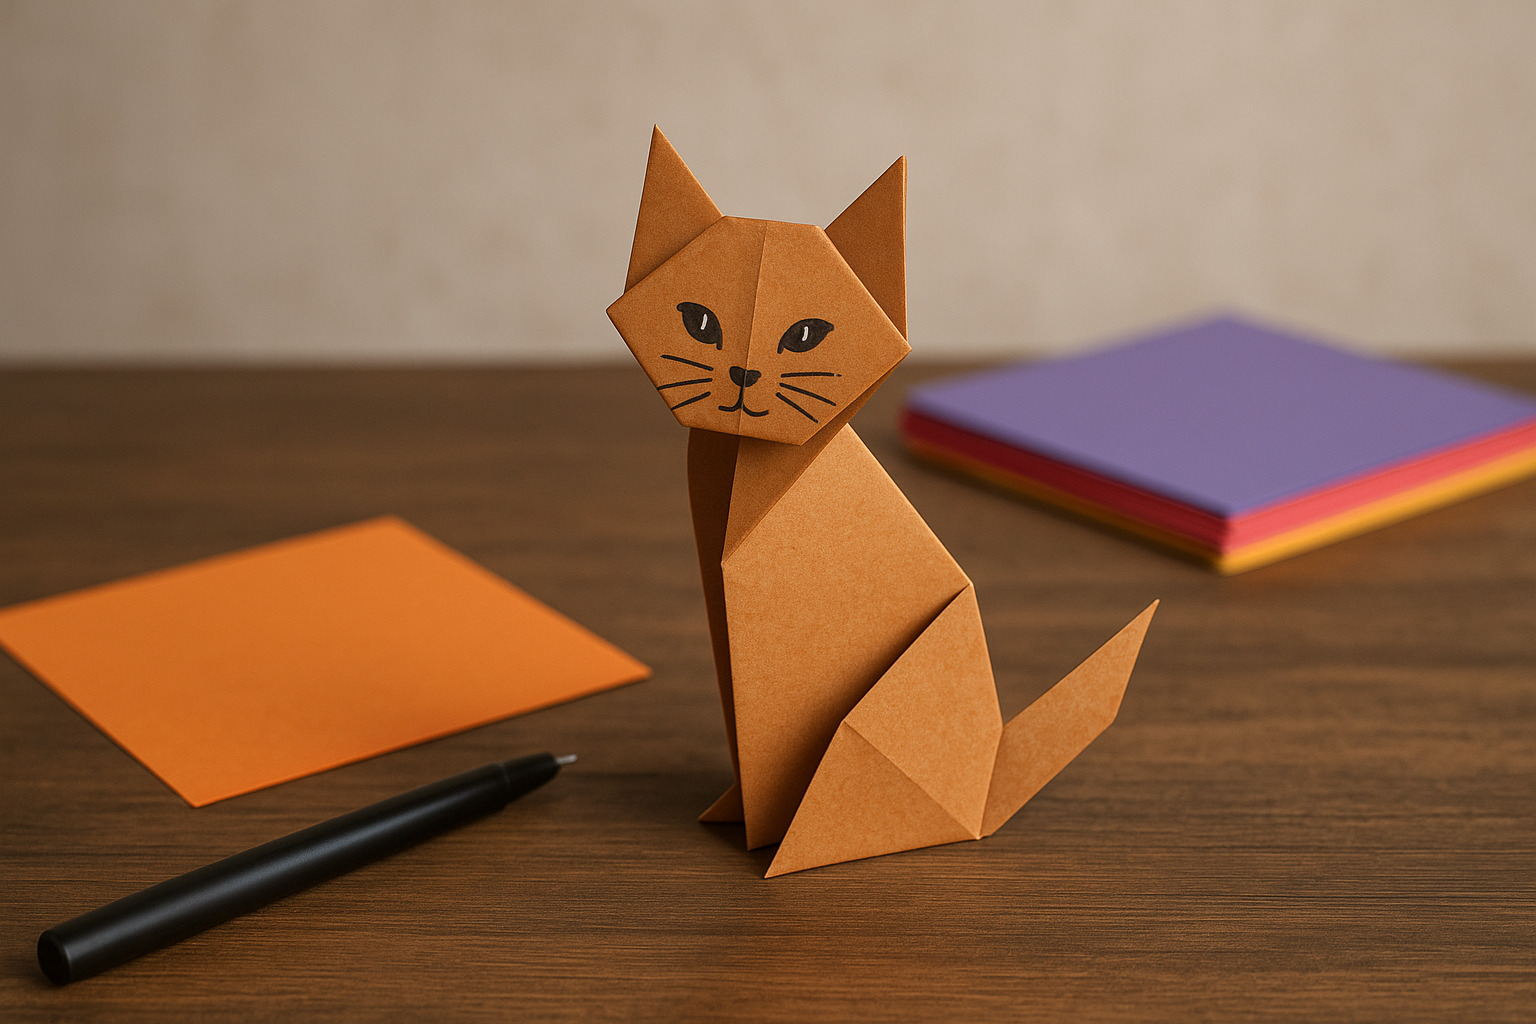
Origami has fascinated artists and hobbyists for centuries, transforming a single sheet of paper into intricate shapes. Among the many…
Carpenter bees can damage wooden structures by drilling holes to create their nests. A well-built trap can help control their…
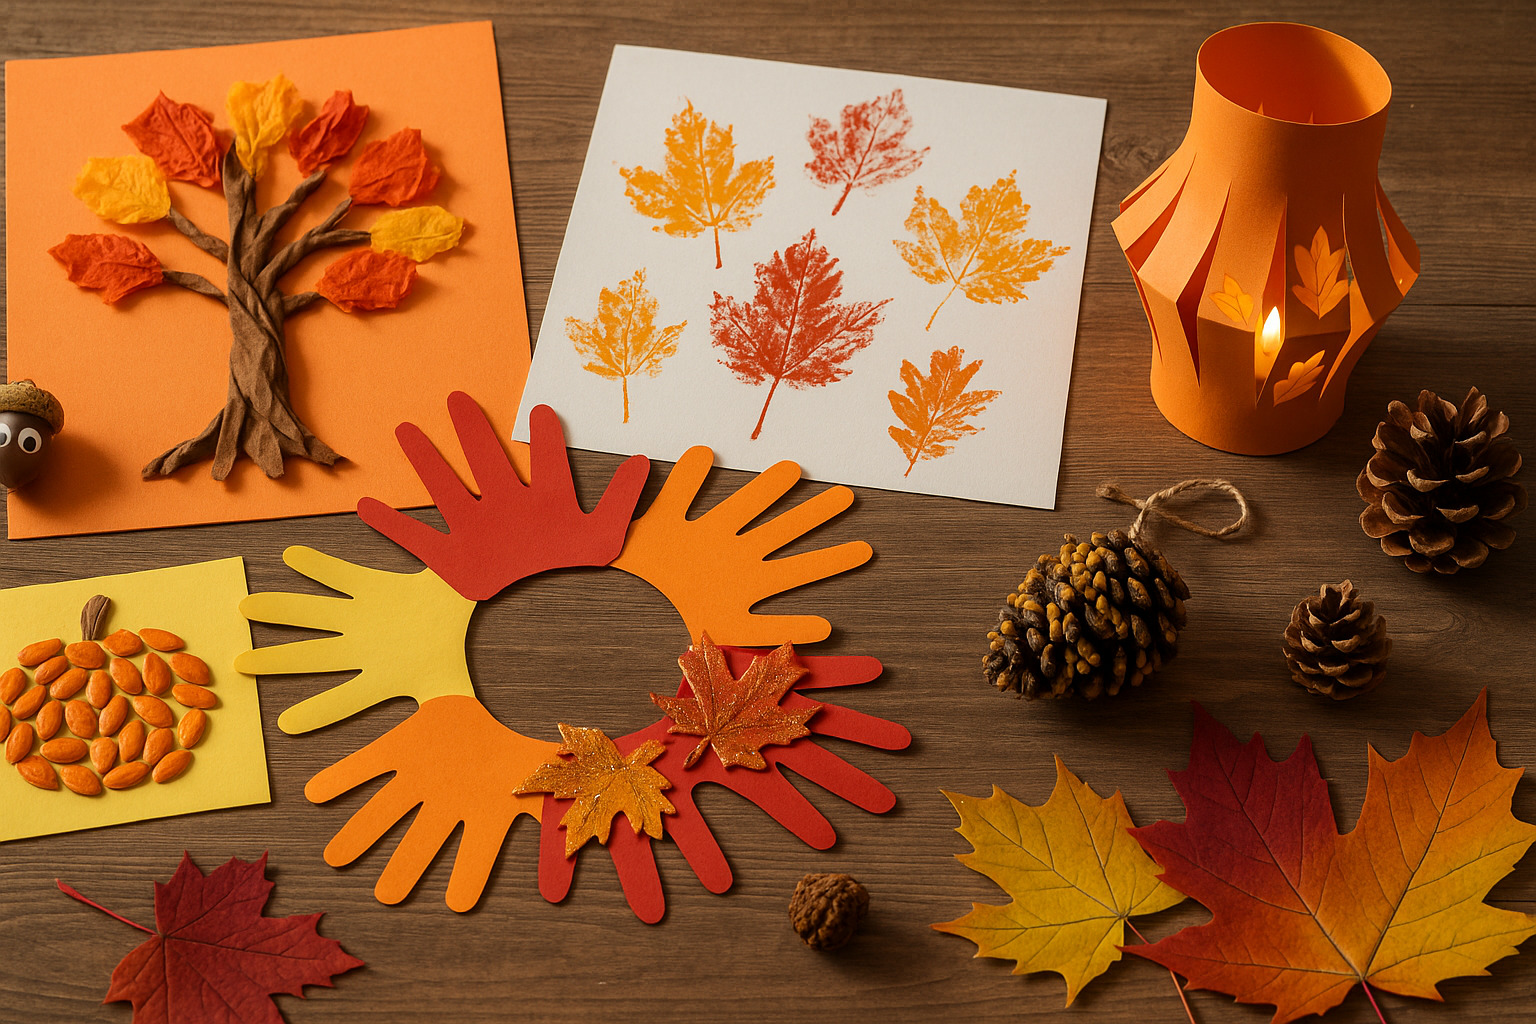
Autumn brings a mix of colors, textures, and natural materials perfect for creative projects. Kids love working with what they…
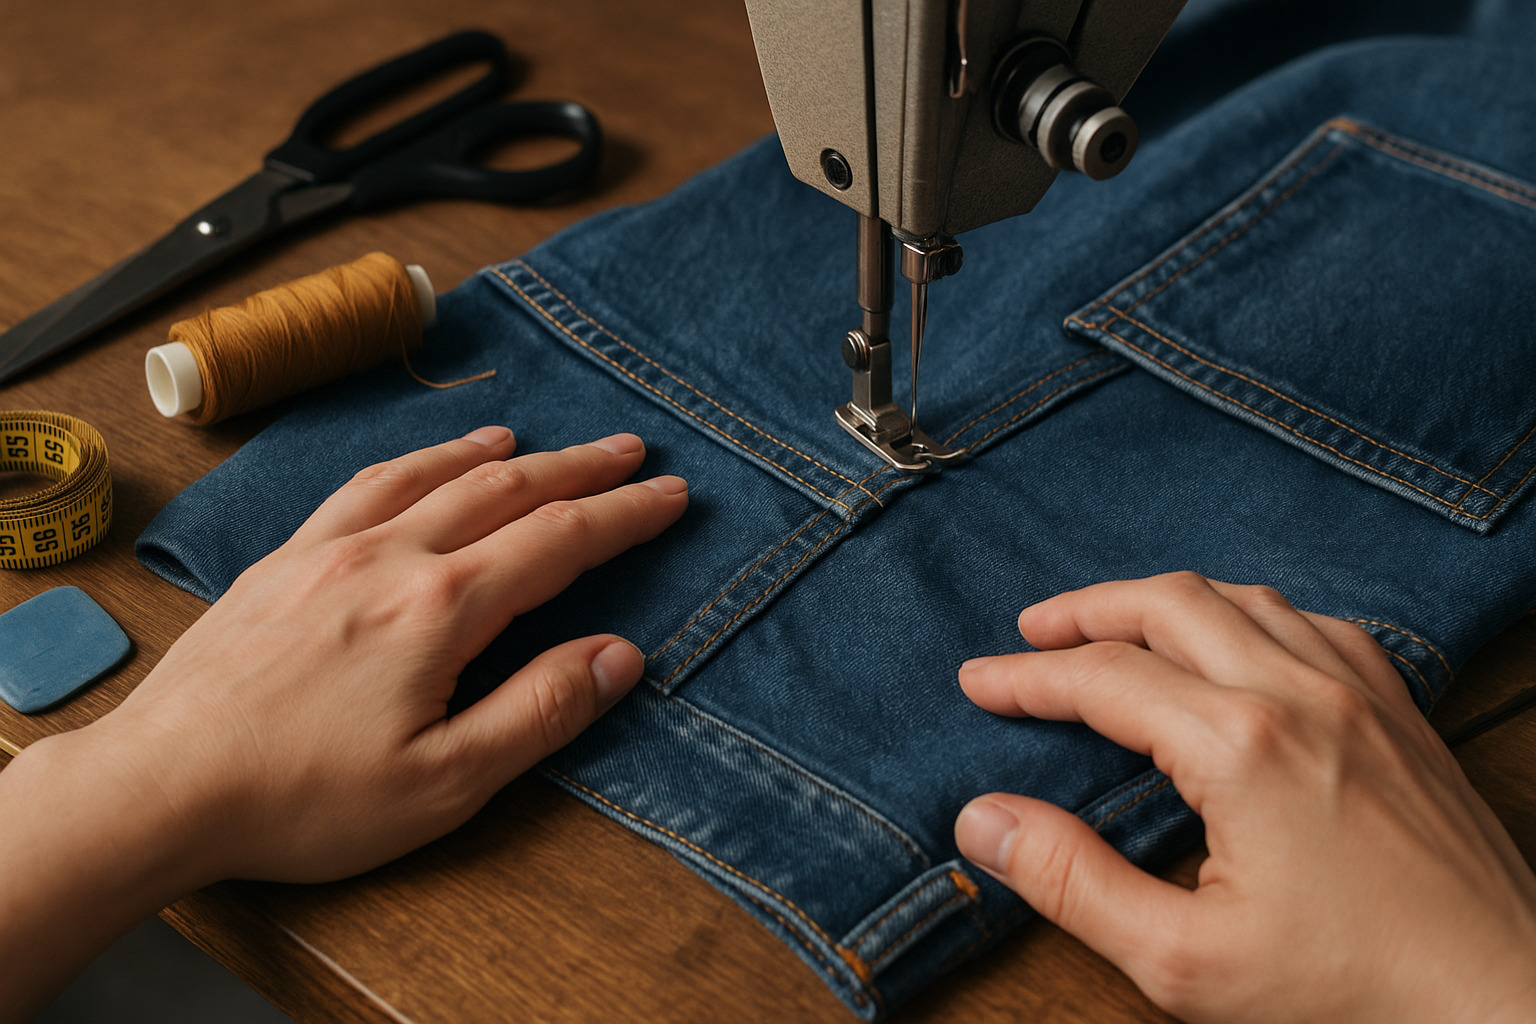
Sewing jeans requires sturdy techniques, durable materials, and careful attention to detail. A well-made pair not only fits perfectly but…
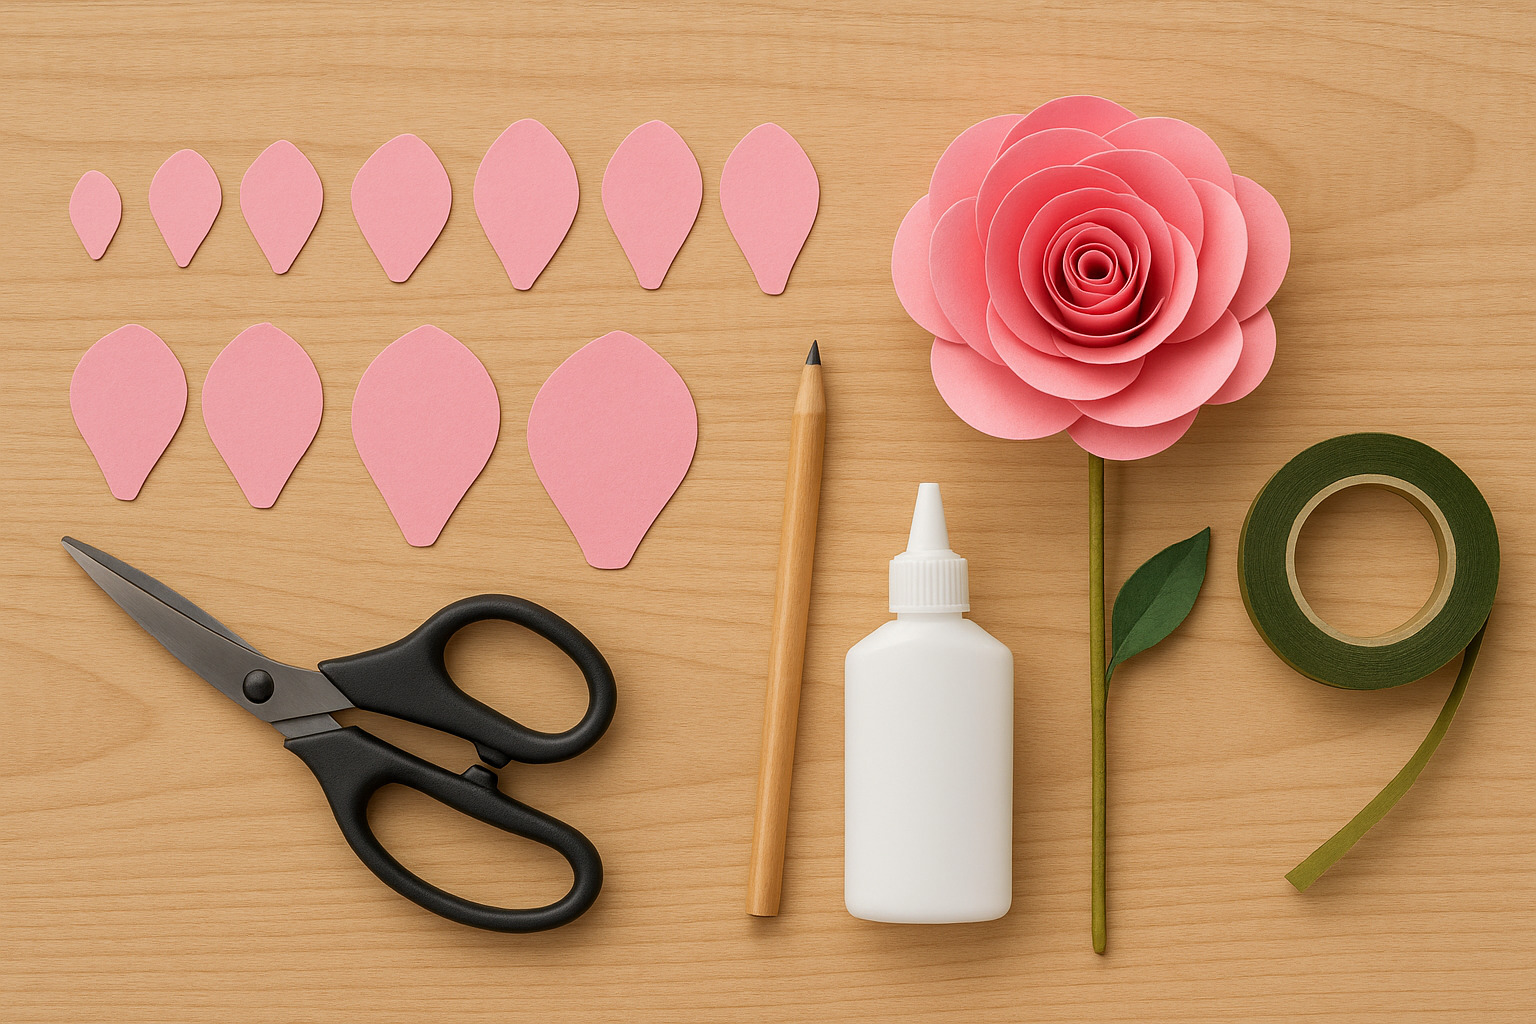
Creating paper roses is a satisfying project that adds charm to any space. Whether you’re decorating for an event, designing…
A hammock stand offers a resting spot without needing trees or wall mounts. If your space lacks those, building one…
Children learn best through hands-on play, repetition, and real-life application. Teaching time isn’t just about reading clocks; it’s about helping…
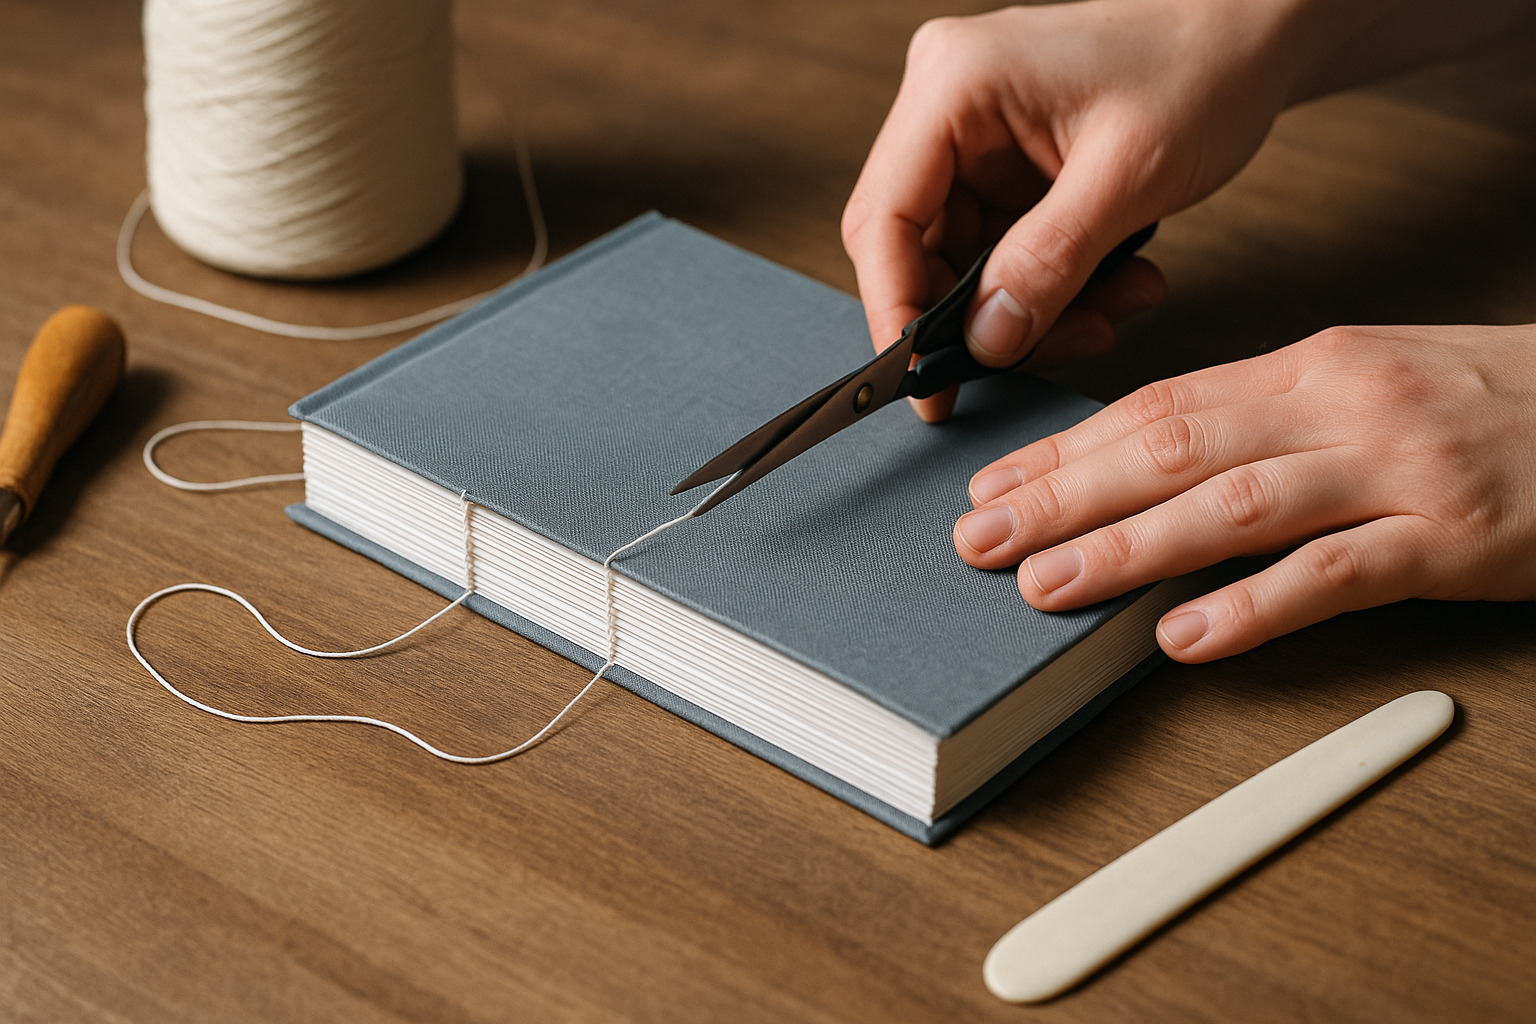
Binding a book by hand gives you control over every detail—from cover design to stitch type. Whether you’re making a…
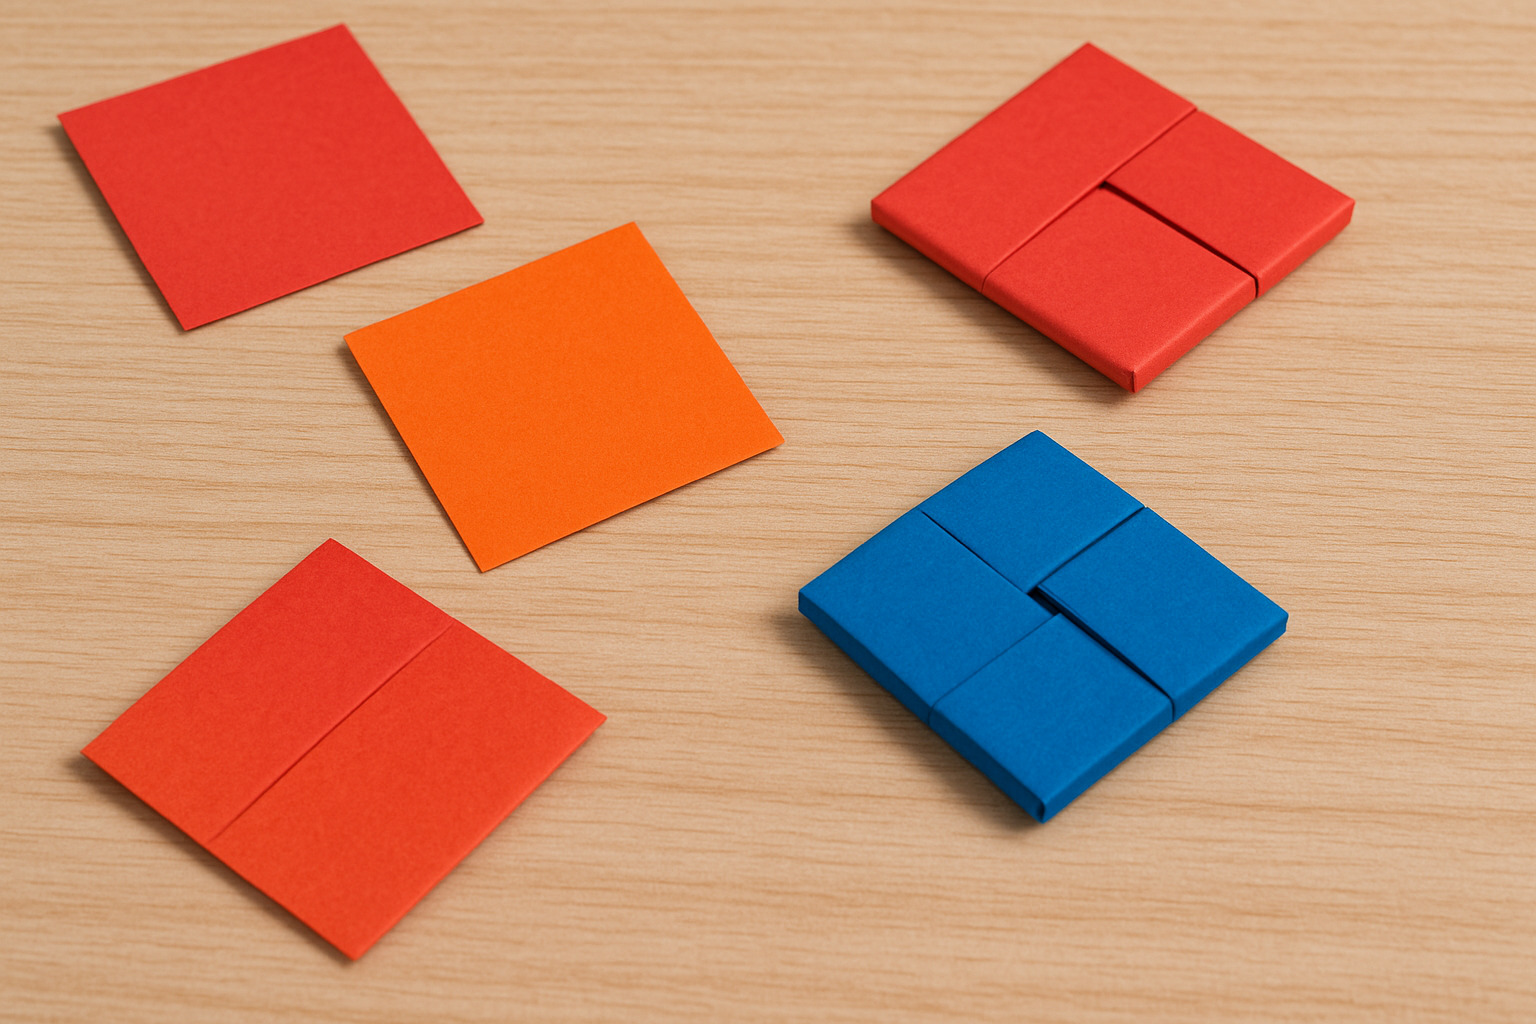
Ddakji is a traditional Korean game using folded paper tiles, made popular again by K-dramas and viral challenges. Two players…