Categories: DIY Home Decor
Home Decor Projects You Can Make Yourself
Home Decor Projects You Can Make Yourself | Naptime Crafters Step into a world where your home reflects your style…
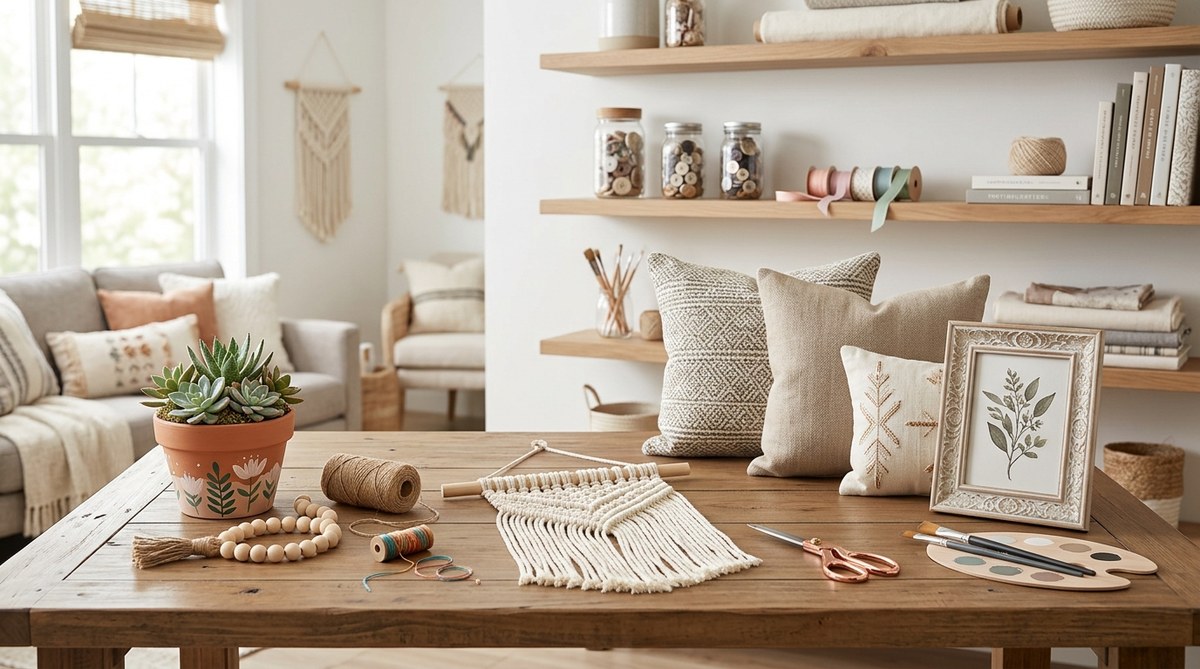
Home Decor Projects You Can Make Yourself | Naptime Crafters Step into a world where…
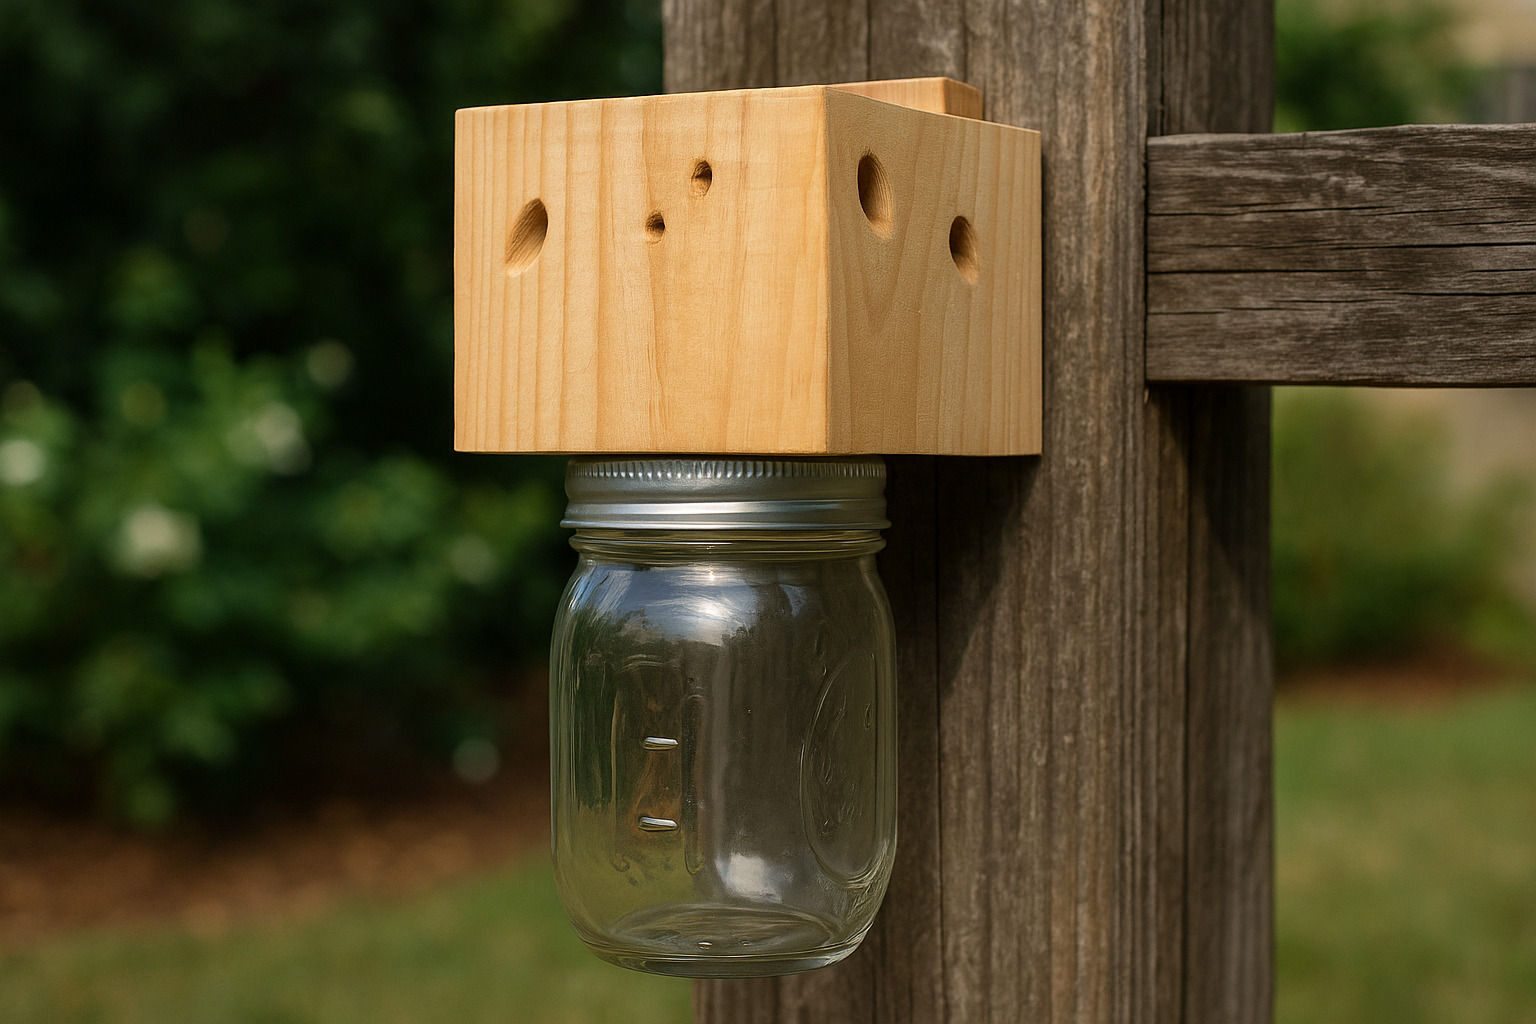
Carpenter bees can damage wooden structures by drilling holes to create their nests. A well-built…

A hammock stand offers a resting spot without needing trees or wall mounts. If your…
Home Decor Projects You Can Make Yourself | Naptime Crafters Step into a world where your home reflects your style…
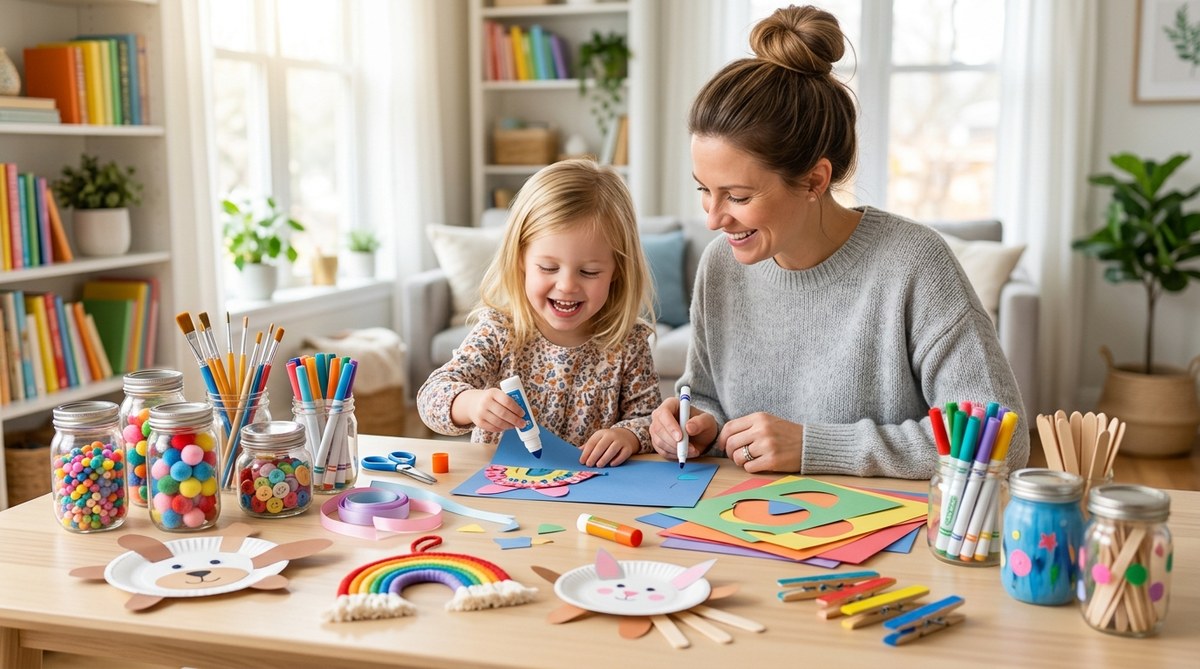
Kid-Friendly Craft Ideas for Busy Parents If you are juggling car pool runs, meal prep, and a full schedule, crafting…
Easy DIY Crafts You Can Do in 30 Minutes | NaptimeCrafters If your to do list is piling up and…
Three small words can carry a lifetime of meaning. Children feel that deeply, even if they cannot always explain it.…
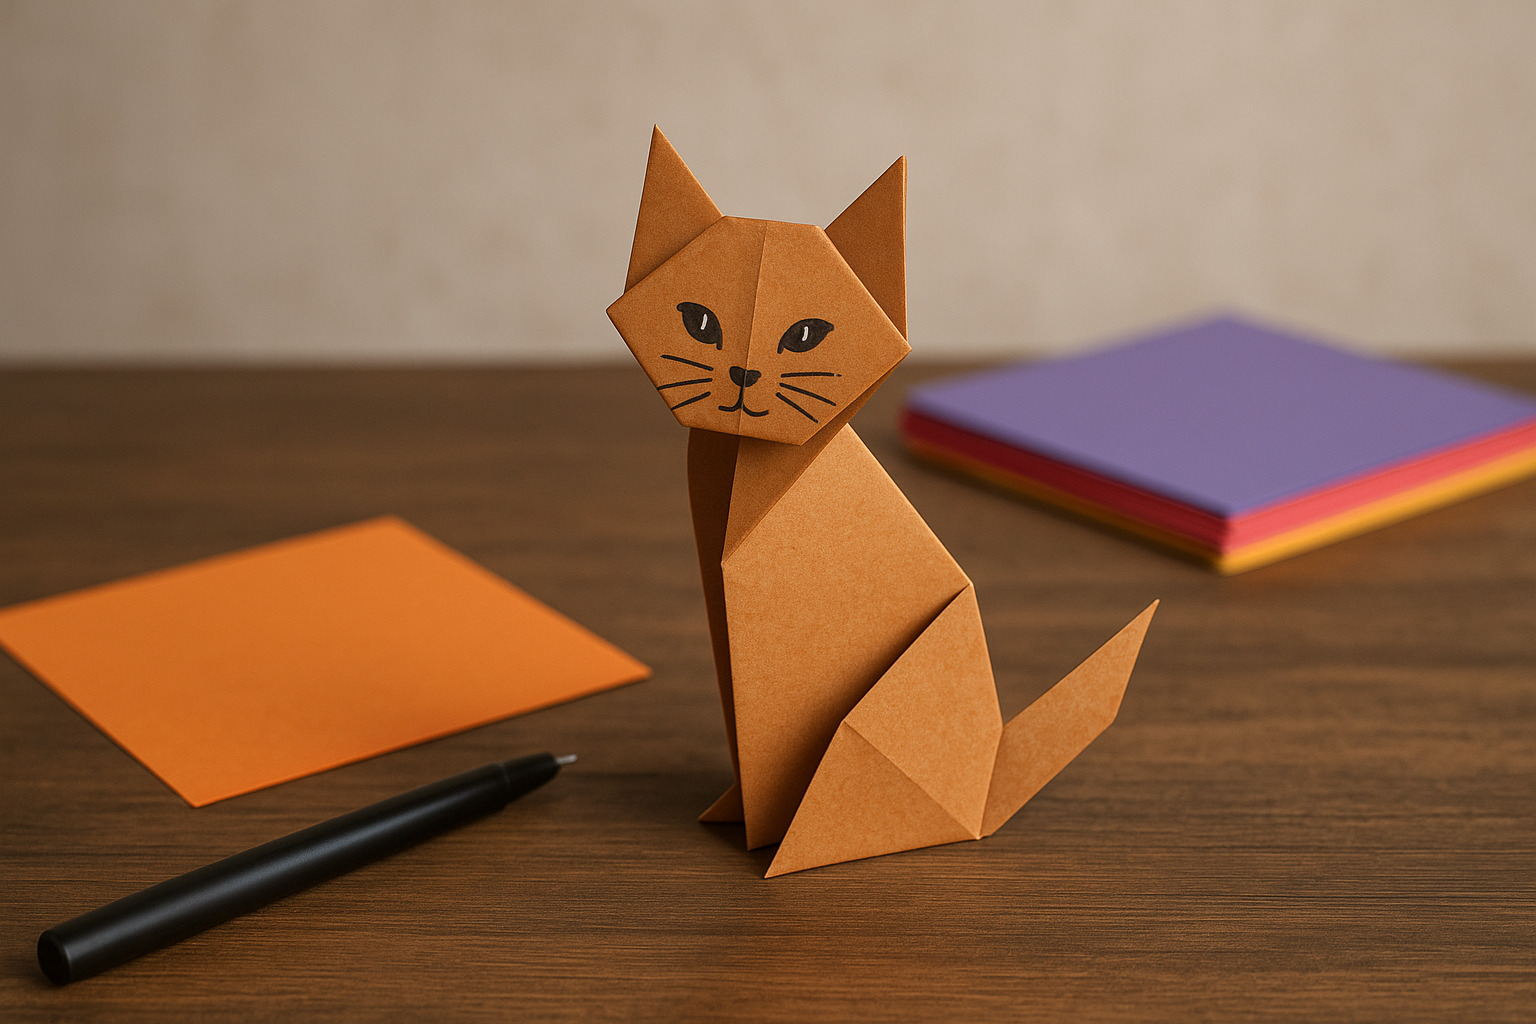
Origami has fascinated artists and hobbyists for centuries, transforming a single sheet of paper into intricate shapes. Among the many…
Carpenter bees can damage wooden structures by drilling holes to create their nests. A well-built trap can help control their…
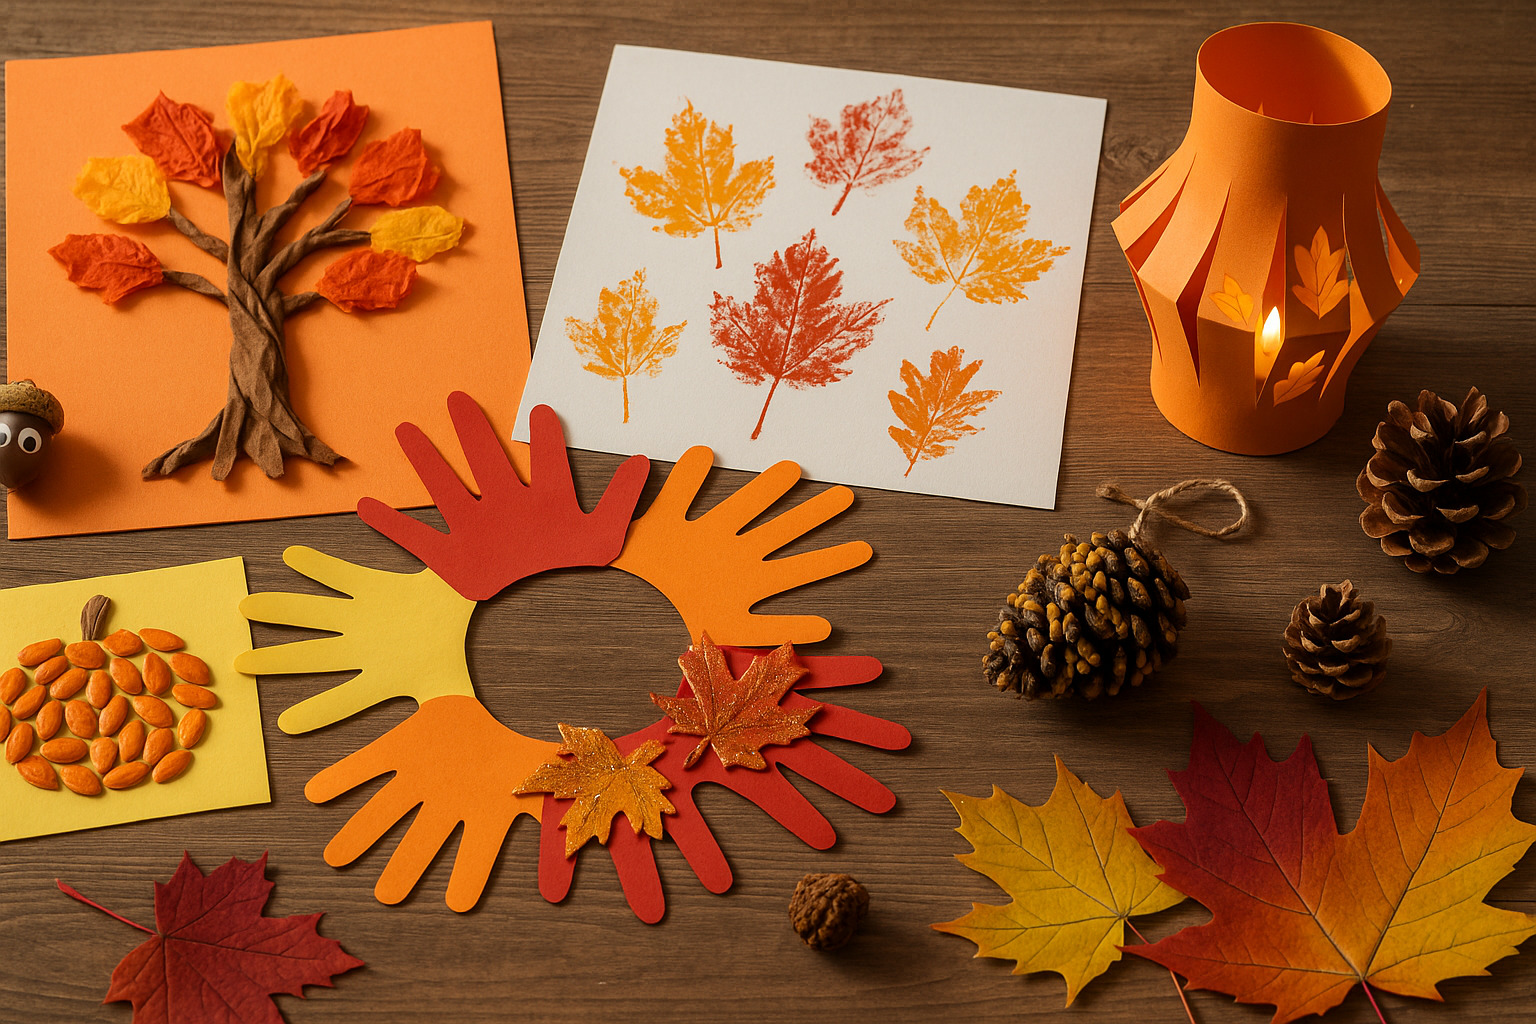
Autumn brings a mix of colors, textures, and natural materials perfect for creative projects. Kids love working with what they…
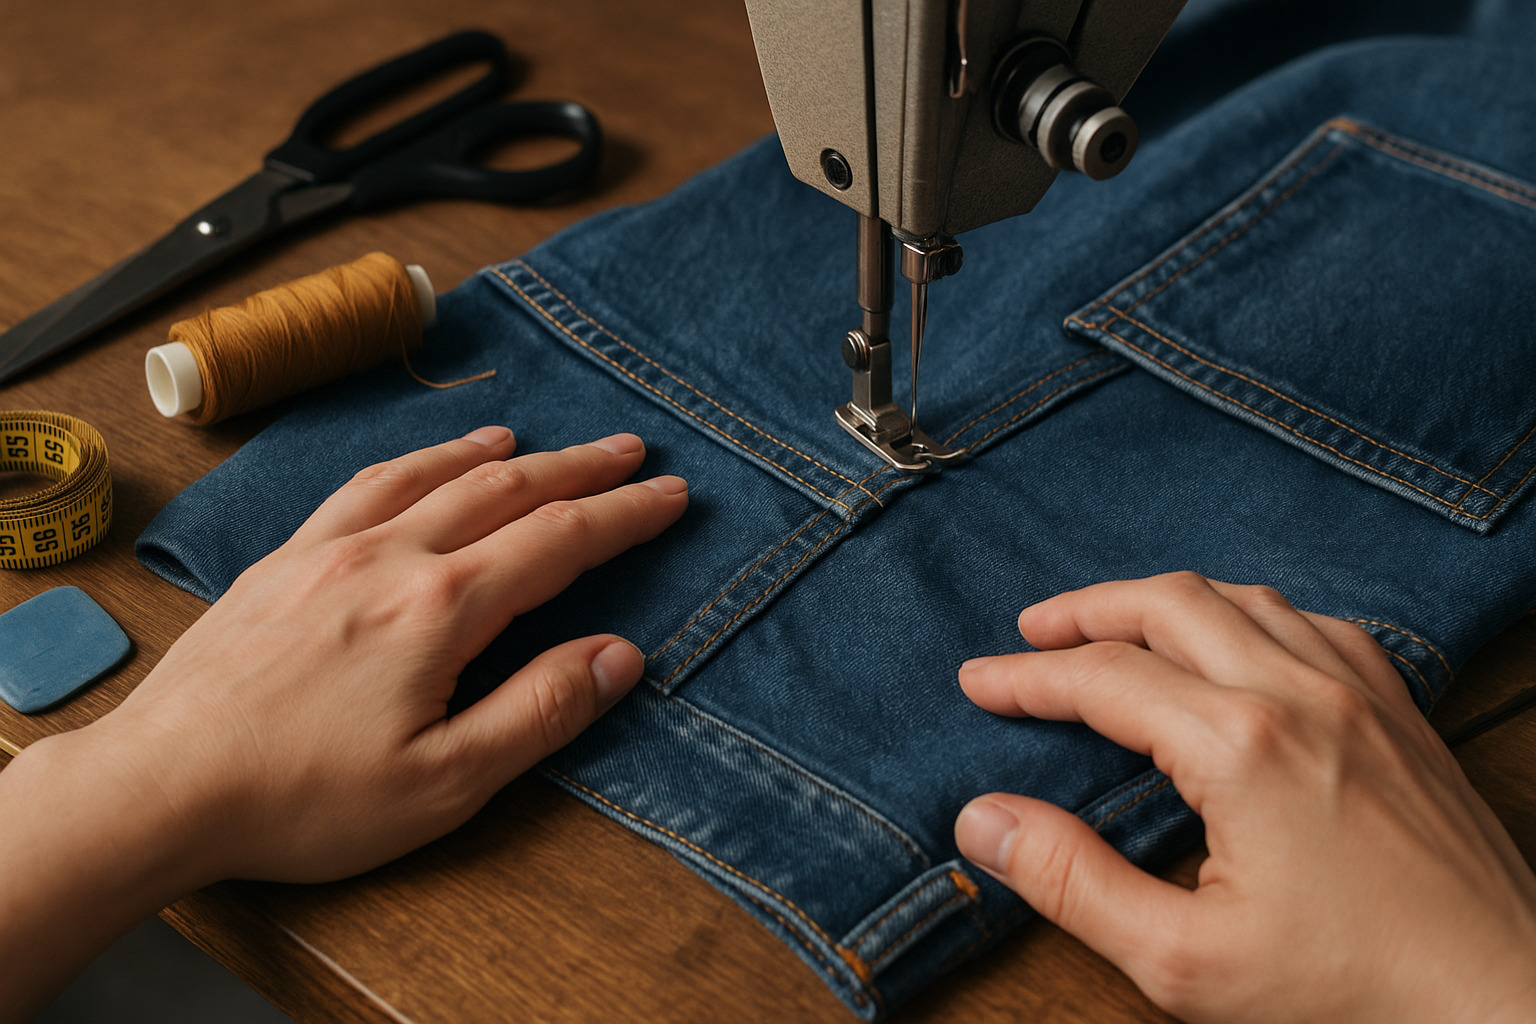
Sewing jeans requires sturdy techniques, durable materials, and careful attention to detail. A well-made pair not only fits perfectly but…
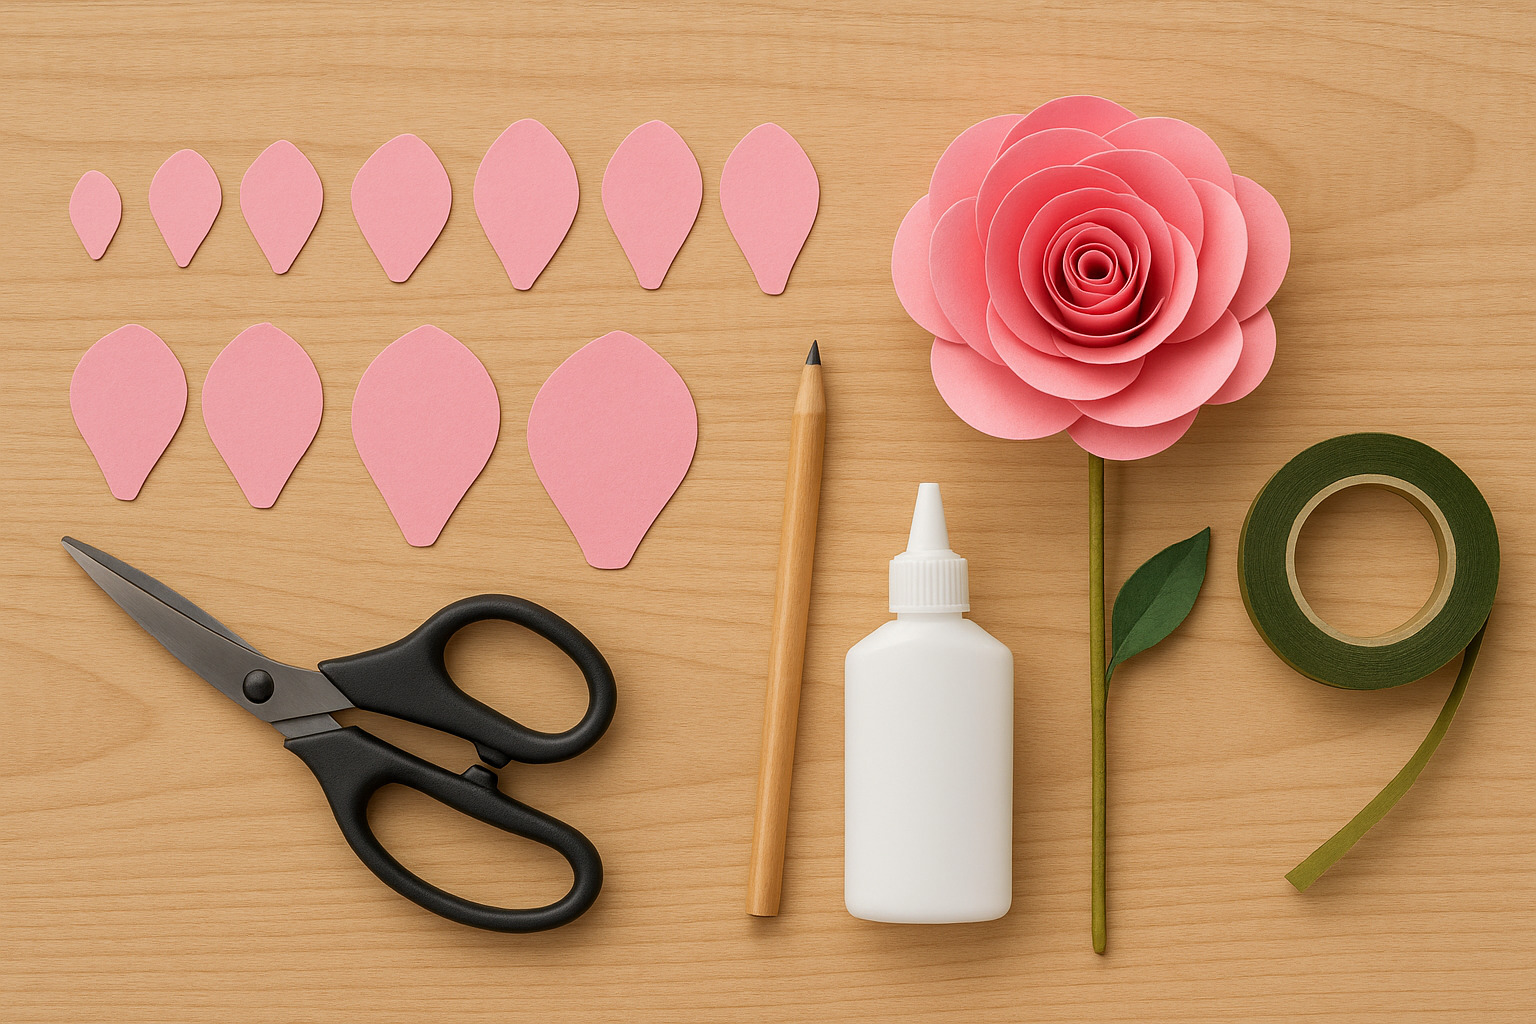
Creating paper roses is a satisfying project that adds charm to any space. Whether you’re decorating for an event, designing…
A hammock stand offers a resting spot without needing trees or wall mounts. If your space lacks those, building one…